
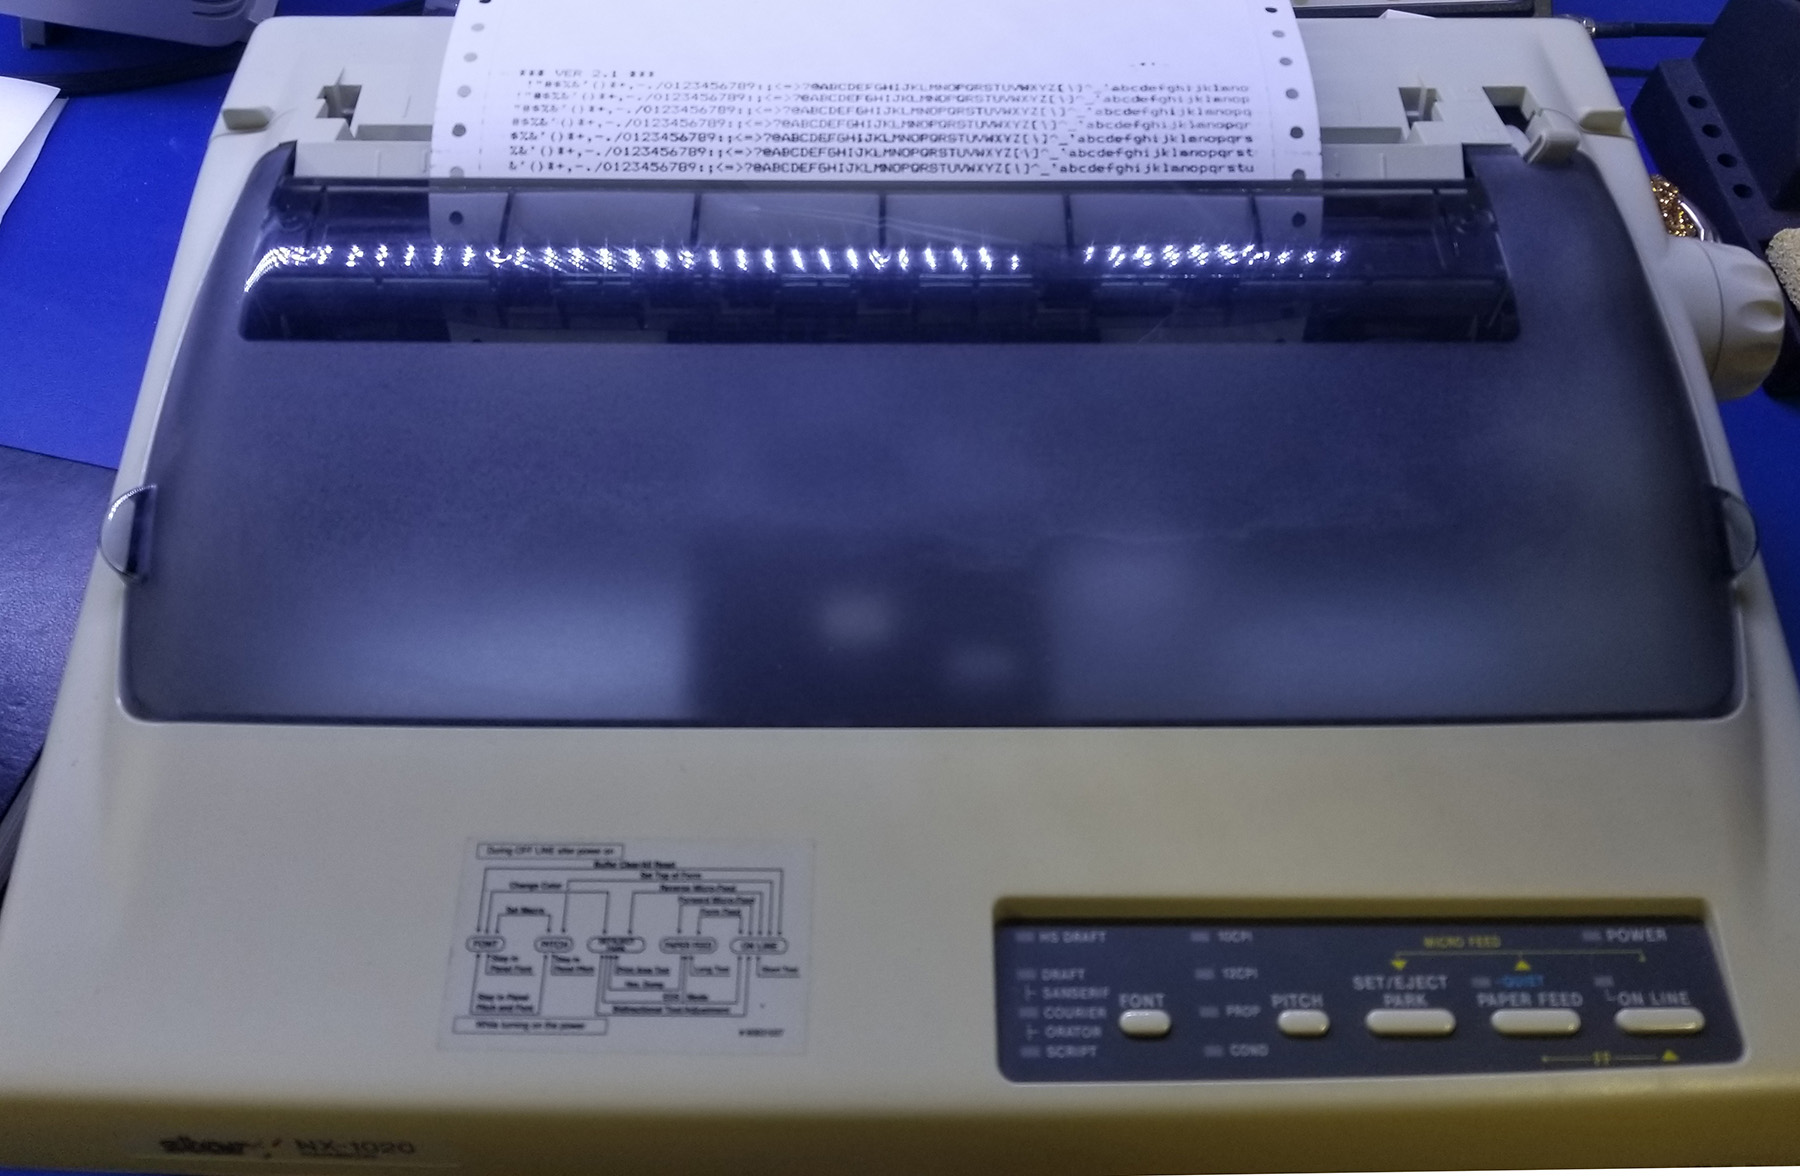
I have an old Star Micronics NX-1020 Rainbow printer from circa 1993. I bought this printer using my paper route Christmas money that I saved up for months. The printer served me valiantly throughout the early 90s. This is a 9-pin dot matrix printer and was based on popular designs available from Epson, Okidata, and others.
Like many old designs, these things were built to last and every last penny was not yet squeezed out by current-quarter-only shareholders. Unsurprisingly, this thing still works perfectly well. Of course I had to find some tractor-fed paper, which was easy enough to locate on Amazon. I needed to buy way more than I needed, but at least it was available at a reasonable price.
Ink cartridges that still work was another thing. Amazon had listings from Aim Distribution for compatible ink cartridges at OK prices. I placed an order and followed up with the shipper after weeks of nothing being shipped. AIM’s source was California Ribbon Company out of South El Monte, CA. If their online reviews are anything to go by, they’ve made some people mad over the years, and don’t sound like reliable vendors. They were not able to produce working ribbons — despite having told AIM that they ordered the necessary parts to make them.
Ebay also had numerous cartridges for sale. I bought a half dozen of them for cheap — some of them worked for one-page, some of them not at all. I cut most of the sellers there breaks because this stuff is so old. I was taking “flyers” on them, and it’s not worth the hassle of trying to get refunds etc.
So I finally decided to simply refill these cartridges myself. Please find the so called ZX9 model pictured below. There are other part numbers like Star’s 80981780, Nu-Kote’s BM321 which are similar and compatible.

The way this works is roughly:
- One long continuous ribbon that holds the ink.
- The print head strikes (9) vertically placed metal pins through the ribbon and strikes the paper.
- The printer advances the ribbon by turning a gray gear counter-clockwise. It’s the top most one.
- The smaller black gear works with that gray gear to advance the ribbon.
- The large black central re-inking sponge spins, and stays in contact with the small black gear via the flexible diagonal piece of metal in lower right.
I used BCH Technologies, out of North Carolina, Premium oil-based Stamp Ink. I’m not sure why I’m surprised but this stuff is DARK BLACK and really, really “dense.” One drop is really a lot of ink. It’s available on Amazon for about $13 shipped. Highly recommend this ink, and the company. Their support was very friendly and helpful.
Don some nylon gloves, and use the following method to refill this cartridge:
- Use a plastic spudger tool to gentle pry the top and bottom halves of the case apart. There are several pins that hold it together. Just work your way in between the seam around the outside edge. It will eventually come apart.
- Remove the center sponge, and apply ink to the EDGES of the sponge wheel. Remember this is what contacts the small black gear that eventually contacts the ribbon.
- Apply ink to the ribbon itself. While you’ll need to use more ink that necessary, I really think the only way to get sufficient absorption into the ribbon itself is to apply it directly. I don’t think the reink sponge is fast enough to produce decent results.
- At this point, there will be too much ink on the ribbon. It’s hard to apply ink to the whole ribbon, and not use too much. I know it’s counterintuitive, but you’ve got a strike a balance.
- Reassemble the cartridge by snapping together the plastic case.
- Next steps to use a paper towel, manually advancing the ribbon by turning counter-clockwise, and remove the excess ink by gently pinching the ribbon with the paper towel. I’ve found this also spreads the ink more evenly along the length of the ribbon.
- Print about a dozen pages in test mode. For this printer, you hold down Set/Eject Park while powering the printer on.
- The quality initially will be pretty crappy, with much blurring between the characters. Just give it some time and eventually the quality will improve.
I will have a few other articles about WHY I needed to breathe some life back into this printer. Trust me, my modern Brother laser printer works great. I’m OCR’ing a BASIC program I wrote 30 years from a printout. And that’s a whole ‘nother story.
Hope this helps someone else on a similar quest!
Add comment